

In the sweltering summer of 2025, my wall AC unit became my lifeline. But one day, it started blowing warm air, leaving me sweaty and frustrated. A dusty AC was the culprit. Learning how to clean a wall AC unit saved my summer and my wallet. Regular cleaning keeps your unit efficient, cuts energy costs, and improves air quality. According to the U.S. Department of Energy, maintaining your AC can boost efficiency by up to 15%. This guide shares a storytelling journey to help you clean your wall AC unit, ensuring cool comfort. Follow these steps, and you’ll avoid my sticky situation!
Why Cleaning Your Wall AC Unit Matters
A dirty wall AC unit works harder, hikes your bills, and spreads dust. My unit’s filters were clogged, reducing airflow and cooling power. Regular cleaning extends your unit’s life and keeps your home fresh. The Environmental Protection Agency notes that clean AC filters can reduce energy consumption by 5-15%. Dust and mold in units can also trigger allergies, affecting your health.
Cleaning isn’t just about comfort; it’s about savings and safety. A neglected unit risks breakdowns, costing hundreds in repairs. By spending 30 minutes monthly, you prevent these issues. Plus, a clean unit cools faster, making your home a summer oasis. Let’s dive into how to clean your wall AC unit effectively.
Gather Your Cleaning Supplies
Before cleaning, gather the right tools. My first attempt failed because I lacked proper supplies. You’ll need a screwdriver, mild detergent, a soft cloth, a vacuum with a brush attachment, and a spray bottle. A fin comb is optional for straightening bent fins. These tools ensure safe and thorough cleaning without damaging your unit.
Keep safety in mind. Wear gloves to avoid sharp edges, and ensure the unit is unplugged. According to a 2022 study by Consumer Reports, using improper tools can damage AC components, leading to costly repairs. Having everything ready saves time and prevents mishaps. Now, let’s prepare your wall AC unit for cleaning.
Step 1: Turn Off and Unplug the Unit
Safety comes first when learning how to clean a wall AC unit. I once forgot to unplug mine, risking a shock. Always turn off the power and unplug the unit to avoid electrical hazards. Check your unit’s manual for specific shut-off instructions, as some models have unique setups.
This step protects you and the unit. It also prevents accidental startups during cleaning. Use a sturdy stool if the unit is high on the wall. Ensuring the power is off lets you focus on cleaning without worry. Next, we’ll remove the front cover to access the filters.
Step 2: Remove and Clean the Filter
The filter is your unit’s first defense against dust. My AC’s filter was caked with grime, blocking airflow. Remove the front cover using a screwdriver, then gently pull out the filter. Most wall AC units have reusable filters, so check your manual to confirm.
Vacuum the filter with a brush attachment to remove loose dust. Then, wash it with warm water and mild detergent. Let it air dry completely to prevent mold. The American Lung Association states that clean filters improve indoor air quality by 20%. Reinstall the dry filter securely. Now, let’s tackle the coils.
Step 3: Clean the Evaporator and Condenser Coils
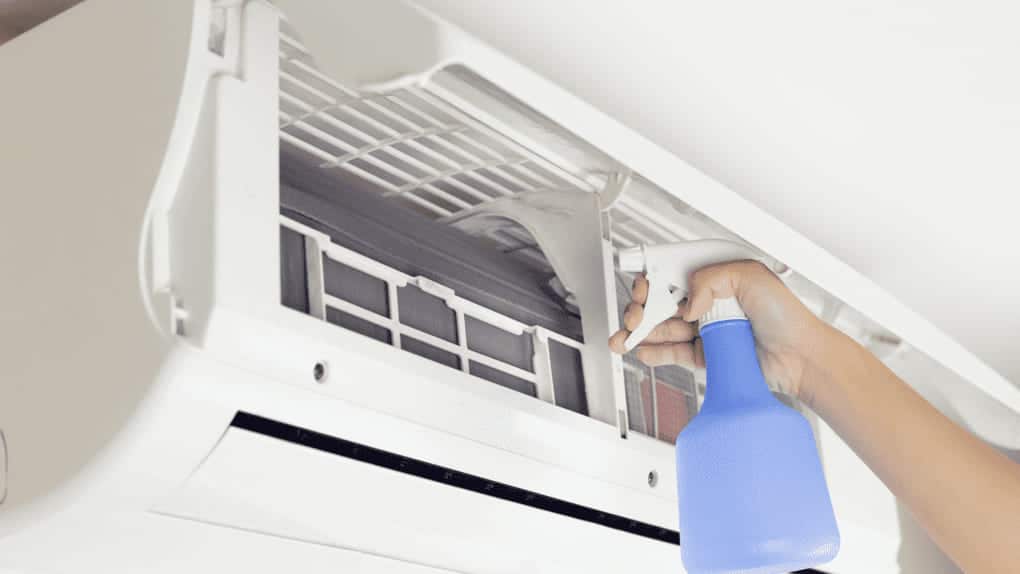
Coils are the heart of your wall AC unit, and dirt reduces their efficiency. I noticed my unit’s coils were dusty, making it work harder. Use a soft brush or vacuum to remove debris from the evaporator coils, located behind the filter. Be gentle to avoid bending fins.
For condenser coils, often at the back, use a fin comb if fins are bent. Spray a mild detergent solution and wipe gently. A 2021 Energy Star report highlights that clean coils can save up to 10% on energy bills. Rinse with a spray bottle and let dry. This step ensures your unit cools effectively.
Step 4: Clear the Drain Pan and Line
A clogged drain pan can cause leaks, as I learned when water dripped from my unit. Remove the drain pan carefully and empty any standing water. Clean it with soap and water to prevent mold. Check the drain line for blockages using a wet/dry vacuum.
Clearing the drain prevents water damage and mold growth. The CDC notes that mold in AC units can worsen respiratory issues. Use a vinegar solution to flush the drain line monthly. This keeps your unit running smoothly and your home dry. Let’s move to the exterior next.
Step 5: Wipe Down the Exterior
The exterior of your wall AC unit collects dust and grime. I was surprised how much dirt was on mine, affecting its look and function. Use a damp cloth with mild detergent to wipe the casing. Avoid harsh chemicals that could damage the finish.
Pay attention to vents and louvers, where dust settles. A clean exterior improves airflow and aesthetics. Dry the surface thoroughly to prevent rust. This quick step enhances your unit’s appearance and performance. Now, let’s reassemble and test your freshly cleaned unit.
Step 6: Reassemble and Test the Unit
After cleaning, reassemble your wall AC unit carefully. I once rushed this step and misaligned the cover, causing noise. Secure the filter and front cover, ensuring all screws are tight. Plug the unit back in and turn it on to test.
Listen for unusual noises and check for cool air. If it’s not cooling, recheck the filter and coils. Testing confirms your cleaning worked. A well-maintained unit runs quietly and efficiently, saving energy. Congratulations, you’ve mastered how to clean a wall AC unit!
Common Mistakes to Avoid
Cleaning mistakes can damage your unit. I once used too much water, causing a leak. Avoid spraying water directly onto electrical components. Don’t skip drying the filter, as dampness breeds mold. Also, never use abrasive cleaners that harm coils or fins.
Check your manual for model-specific tips. According to Consumer Reports, improper cleaning causes 30% of AC repair issues. Take your time and follow each step carefully. Avoiding these pitfalls ensures your unit stays in top shape, saving you from costly repairs.
How Often Should You Clean Your Wall AC Unit?
Cleaning frequency depends on usage and environment. I clean mine monthly during summer due to high dust levels. For moderate use, clean every 1-2 months. In dusty areas, monthly cleaning is ideal. The Department of Energy suggests checking filters every 30 days.
Regular cleaning prevents buildup and maintains efficiency. Set a schedule to stay consistent. A quick check takes minutes but saves hours of discomfort. By keeping your unit clean, you ensure cool air all season long.
Conclusion
Cleaning your wall AC unit is simple yet vital for comfort and savings. My sweaty summer taught me the value of a clean unit. Regular maintenance cuts energy costs, improves air quality, and extends your unit’s life. By following these steps, you’ll keep your home cool and avoid costly repairs. Don’t let a dirty unit ruin your summer vibe. Grab your tools and start cleaning today! Share your cleaning tips or experiences in the comments below, or spread this guide to help others stay cool.
FAQs
How often should I clean my wall AC unit?
Clean every 1-2 months during use, or monthly in dusty areas, to maintain efficiency.
Can I use vinegar to clean my AC unit?
Yes, vinegar is safe for cleaning the drain line and pan to prevent mold.
What happens if I don’t clean my wall AC unit?
A dirty unit reduces efficiency, raises bills, and can cause breakdowns or health issues.
Do I need professional help to clean my wall AC unit?
No, basic cleaning is DIY, but hire a pro for deep maintenance or repairs.
Can a dirty AC unit affect my health?
Yes, dust and mold in units can trigger allergies and respiratory problems.