
Wrought iron railings add elegance and durability to any home, boosting curb appeal with their timeless charm. However, maintaining their beauty requires proper preparation and painting. Whether tackling an exterior house painting project or refreshing high-traffic indoor stair railings, the process can seem daunting. How do you achieve a durable finish that withstands weather and wear? This guide walks you through a series of steps to prep and paint wrought iron railings, ensuring a professional, long-lasting result.
Why Proper Preparation Matters
Proper preparation is the foundation of a successful paint job. Without it, even high-quality metal paint can peel, chip, or fade over time. According to industry standards, thorough cleaning and priming can extend the life of a paint job by up to 70%. Neglecting these steps risks flaking paint, rust, or an uneven finish, diminishing the decorative appeal of your iron railings. Curious about how to avoid these pitfalls? Let’s dive into the process.
Gathering the Right Materials
Before starting, collect all necessary supplies to streamline the painting process. Having everything on hand saves time and ensures consistency. Here’s what you’ll need:
- Wire brush or wheel brush for rust removal
- Medium-grit sandpaper (150-grit sandpaper or coarse sandpaper for tougher spots)
- Liquid dish soap and warm water for cleaning
- Drop cloths to protect nearby surfaces
- Rust-inhibiting primer or rust-control metal primer
- High-quality, exterior-grade paint (consider semi-gloss paint or glossy paint for a sleek look)
- Paint scraper for loose paint
- Foam roller or 4-inch fabric roller for broad surfaces
- Different-sized brushes, including a cheapie spongie brush for tight spots
- Eye protection for safety
- Damp cloth for quick cleanups
These materials ensure a clean surface and optimal coverage, setting the stage for a professional finish. Pro tip: Visit paint stores like Benjamin Moore for high-quality products tailored to iron surfaces.
Step 1: Cleaning the Wrought Iron Surface
A clean surface is critical for paint adhesion. Dirt, grease, or rust can prevent the paint from sticking, leading to a rough surface or premature deterioration over time. Start by mixing liquid dish soap with warm water to create soapy water. Use a bottle brush or clean brush to scrub the entire railing, focusing on intricate details of the wrought iron fence or railing.
Rinse thoroughly with clean water to remove soap residue. For stubborn grime, an electric drill with a wire brush attachment can make quick work of cleaning. Ensure the surface is completely dry before moving forward—damp surfaces can cause issues with paint application. This step is especially crucial for exterior metal railings exposed to weather.
Step 2: Removing Rust and Old Paint
Rust is the enemy of iron railings. Left unchecked, it can cause future corrosion, ruining your paint job. Use a wire brush or #60-grit sandpaper to remove rust and loose paint. For tougher spots, a wheel brush paired with an electric drill can tackle the entire metal surface efficiently. If rust persists, apply a brush rust converter to neutralize it, creating a stable base for paint.
Next, smooth the surface with medium-grit sandpaper or fine-grit sandpaper for a polished feel. This step ensures the iron railing is free of flaking paint and ready for priming. Don’t rush—proper rust removal is key to a durable metal paint finish.
Step 3: Priming for Long-Lasting Results
A high-quality primer is non-negotiable for iron surfaces. Rust-inhibiting metal primer or high-quality oil-based primer creates a protective layer that prevents corrosion and enhances paint adhesion. Apply the primer evenly using a foam tip brush for detailed areas and a 4-inch fabric roller for flat surfaces. Benjamin Moore offers excellent rust-inhibitive primer options, like their Black Forest Green, for a consistent color base.
Allow the primer to dry completely, typically 4–6 hours, depending on the product. This base layer ensures the topcoat adheres properly, reducing the chances of paint sagging or peeling. For exterior painting projects, choose a rust-control metal primer designed for durability against rain.
Step 4: Choosing the Right Paint
Selecting the correct paint is crucial for both aesthetic appeal and durability. High-quality, exterior-grade paint, such as acrylic latex paint or acrylic gloss DTM paint, works well for wrought iron. Semi-gloss paint or glossy paint offers a professional finish with a high-quality shine, while also being easy to clean. For a unique look, consider consulting an auto paint shop guy for exotic paint options that add flair.
Avoid aerosol paint for large projects, as it may not provide the durability needed for exterior metal surfaces. Instead, opt for liquid paint applied with a paint stick for even distribution. If unsure, ask for additional paint recommendations at a store like Frazee Paint for products suited to iron fences.
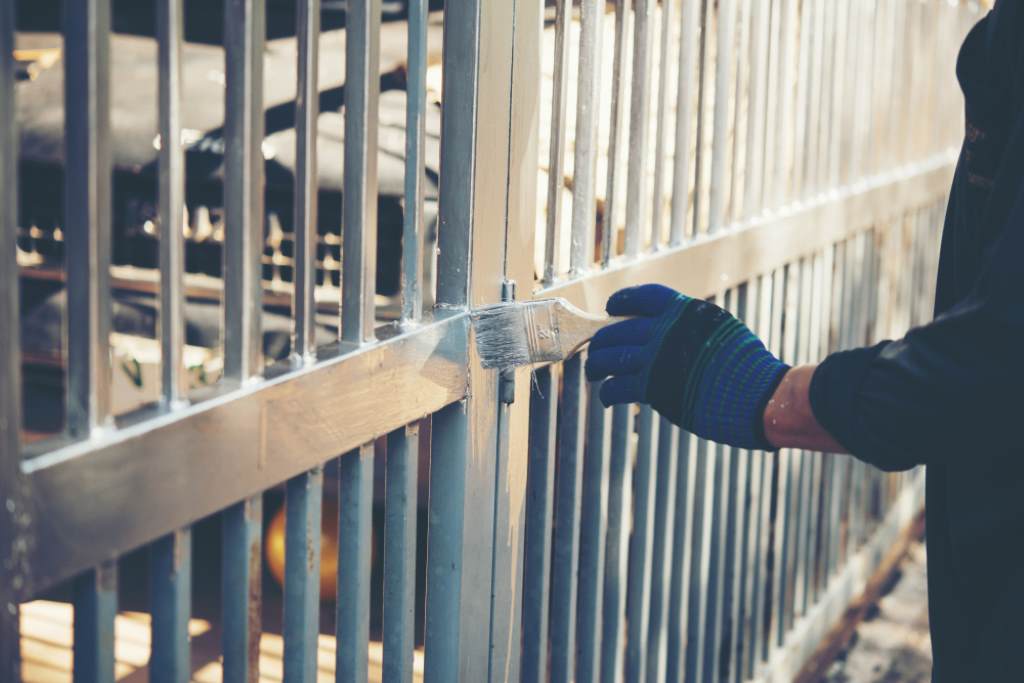
Step 5: Applying the Paint
Now comes the fun part—adding that fresh coat of paint. Use a foam roller for broad surfaces and a clean brush for detailed areas to avoid brush marks. Apply the paint in thin, even layers to achieve optimal coverage. Two coats of paint are typically sufficient, but for high-traffic indoor stair railings, consider an extra layer for added durability.
Work in small sections to maintain control and prevent drips. Protect nearby surfaces with drop cloths to keep furniture from paint drips. If painting an exterior metal railing, choose an ideal time—avoid humid or rainy days to ensure the paint cures properly. For a high-quality finish, follow the manufacturer’s instructions for drying times between coats.
Step 6: Adding the Finishing Touches
Once the final coat is dry, inspect the railing for any missed spots or imperfections. Use a damp cloth to clean any stray paint marks. For an elegant touch, consider a glossy finish or high-quality metal paint that enhances the wrought iron’s decorative appeal. If you’re aiming for a specific color, like Benjamin Moore Black Forest Green, ensure the shade matches your vision for curb appeal.
For extra protection, some professional painters recommend a clear topcoat to shield against weather and wear. This finishing touch can extend the life of your paint job, especially for exterior painting projects.
Common Mistakes to Avoid
Even with careful planning, mistakes can happen. Here are some pitfalls to watch out for:
- Skipping proper preparation: Rushing cleaning or rust removal leads to poor paint adhesion.
- Using low-quality products: Cheap paints or primers may save money upfront but wear out quickly.
- Ignoring weather conditions: Painting in high humidity or rain can cause issues like bubbling or peeling.
- Overloading the brush: Too much paint increases the chances of paint sagging or drips.
By taking extra steps, like using fine-grade sandpaper or a high-quality primer, you can avoid these issues and achieve a professional painting company-worthy result.
When to Hire a Professional
While DIY painting is rewarding, some projects call for a professional painting company. Complex wrought iron designs, large fences, or lead-based paint require expertise and specialized equipment, like electrostatic painting for even coverage. Professional painters also offer excellent customer service and follow industry standards, ensuring a high-quality finish.
If you’re unsure about handling lead-based paint or need advice on paint selection, consult an exterior painter. For cost estimates, check resources like Benjamin Moore’s painting guides for tips on budgeting and planning.
Maintaining Your Wrought Iron Railings
To keep your railings looking fresh, regular maintenance is key. Clean them annually with soapy water and a bottle brush to remove dirt. Inspect for signs of rust or chipping, addressing issues promptly with a wire brush and touch-up paint. A well-maintained wrought iron fence can last decades, adding value and beauty to your home.
Transforming your wrought iron railings is easier than you think! Try these steps for a stunning, durable finish that elevates your home’s appeal. Have a painting tip or question? Share it in the comments below, or explore more home improvement guides on our site. Don’t forget to share this article with fellow DIY enthusiasts!
FAQs
What type of paint is best for wrought iron railings?
High-quality, exterior-grade paint like acrylic latex or semi-gloss paint ensures durability and a professional finish.
How do I remove rust from wrought iron before painting?
Use a wire brush, #60-grit sandpaper, or a rust converter to remove rust, then smooth with fine-grit sandpaper.
Can I paint wrought iron railings in humid weather?
Avoid painting in high humidity or rain, as it can cause paint to bubble or peel. Choose a dry day.
How many coats of paint are needed for wrought iron?
Two coats of paint typically provide optimal coverage, but high-traffic areas may need an extra layer.
Should I hire a professional for painting wrought iron?
For complex designs or lead-based paint, a professional painting company ensures safety and a high-quality finish.